Introduction: Why Audio Makes or Breaks Your Video
There is an unspoken rule in video production that experienced editors understand intuitively: audiences will tolerate imperfect visuals far longer than they will tolerate bad audio. A shaky camera can feel authentic. A poorly lit scene can be forgiven. But music that drowns out dialogue, sound that clips, or audio levels that swing wildly between inaudible and deafening — these signal amateur work instantly, and viewers click away.
Adobe Premiere Pro remains one of the most widely used non-linear editing platforms for content creators, from YouTube vloggers to corporate video teams. Among its many capabilities, the audio workflow is perhaps the most underutilized. Many editors treat sound as an afterthought — dropping a music track onto the timeline, dragging a volume slider, and exporting. The result is content that sounds acceptable on one pair of headphones and terrible on everything else.
This guide takes a different approach. Rather than walking through a checklist of buttons to click, it examines the professional audio workflow in Premiere Pro from a technical and creative standpoint — covering the architecture of audio within the software, licensing considerations that protect your content, mixing techniques that industry professionals rely on, and the loudness standards that distribution platforms enforce.

Understanding Premiere Pro's Audio Architecture
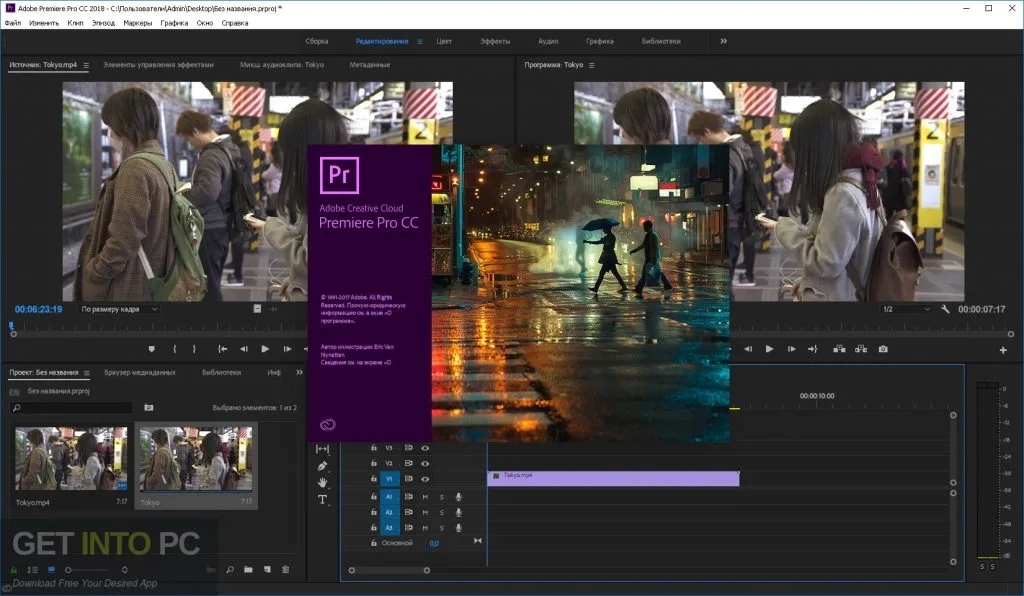
Before touching a single slider, it helps to understand how Premiere Pro organizes sound. The software handles audio across multiple layers, each serving a distinct purpose in the final mix.
Track Types and Their Roles. Premiere Pro supports several audio track formats: mono, stereo, and 5.1 surround. When you import a video clip that contains embedded audio, the software automatically separates the audio onto its own track. Additional audio — such as background music, sound effects, voiceovers, and ambient recordings — can be placed on separate tracks below the video. This multi-track approach is what allows independent control over each sound source.
The Audio Track Mixer. Beyond the timeline, Premiere Pro offers the Audio Track Mixer, a panel modeled after physical mixing consoles. Each track in your timeline corresponds to a channel strip in the mixer, complete with fader controls, pan knobs, mute and solo buttons, and effects routing. For projects with more than a handful of audio clips, the mixer provides a far more efficient way to balance levels than adjusting individual clips on the timeline.
The Essential Sound Panel. Adobe introduced the Essential Sound panel to simplify audio workflows for editors who are not audio engineers. It categorizes audio into four types — Dialogue, Music, Sound Effects, and Ambience — and applies intelligent processing tailored to each. For example, selecting a clip as "Dialogue" gives you access to noise reduction, clarity enhancement, and automatic loudness matching. Selecting a clip as "Music" enables the ducking feature, which automatically lowers music volume when dialogue is detected.
The Properties Panel. In more recent versions of Premiere Pro, the Properties panel provides quick access to volume, panning, and mute controls for selected audio clips. It also supports batch editing — selecting multiple clips lets you adjust shared properties simultaneously, which is particularly useful when balancing levels across several interview segments.
Sourcing and Licensing: What You Need to Know First
One of the most common mistakes new editors make is using copyrighted music without proper licensing. The consequences range from muted videos on social media to Content ID claims that redirect monetization revenue to the rights holder. In some cases, repeated copyright violations can lead to channel suspension.
Royalty-Free Music Libraries. Several platforms provide music that is legally cleared for use in video content:
- YouTube Audio Library — Free and built directly into YouTube Studio. Tracks are searchable by mood, genre, and duration. No attribution required for most selections, and the library is safe for monetized content.
- Epidemic Sound — A subscription-based service (starting around $15 per month for the creator plan) that offers a high-quality, well-organized library with clear licensing across all social platforms.
- Artlist — Another subscription option (approximately $9.99 per month) known for its strong catalog and perpetual license model, meaning tracks remain licensed even after subscription cancellation.
- Pixabay Music — Free with no attribution required. The quality varies, but careful filtering can yield genuinely usable tracks.
- Adobe Stock Audio — Integrated directly into Premiere Pro. Accessible via File > Search Adobe Stock, this library allows editors to search by mood, tempo, and duration without leaving the application. Licensing requires a paid Adobe Stock plan.
What to Avoid. Commercial streaming services like Spotify and Apple Music are not licensed for use in video content. Even if a track sounds perfect for your project, Content ID systems on platforms like YouTube are sophisticated enough to detect copyrighted material retroactively, which can result in claims applied months or years after upload.
Mood Selection. The emotional tone of the music should align with the content. Tutorial and educational videos benefit from light, upbeat instrumentals — lo-fi, acoustic guitar, or soft electronic tracks that avoid strong melodies. Corporate content typically calls for clean, minimal ambient or piano pieces. Travel content can range from acoustic world music to cinematic orchestral depending on the footage. The key principle: if the music draws attention to itself, it is probably wrong for the content.
The Import-to-Timeline Workflow
Once licensing is settled, the technical workflow in Premiere Pro follows a logical progression.
File Preparation. Premiere Pro supports MP3, WAV, AIFF, and AAC audio formats. For the best quality and compatibility, WAV files are preferred — they are uncompressed and avoid the artifacts that compressed formats like MP3 can introduce. A bitrate of 192 kbps or higher is recommended if MP3 must be used.
Importing Audio. There are three primary methods for bringing audio into a project. The File > Import menu option opens a browser dialog to select files. Dragging and dropping from the computer's file explorer directly into the Project panel is faster for bulk imports. The Adobe Stock Audio integration allows browsing and licensing without leaving the application.
Organization. Professional editors maintain structure within their Project panel by creating dedicated bins (folders) for audio assets. A typical setup might include separate bins for "Background Music," "Sound Effects," "Voiceovers," and "Ambient Recordings." Meaningful file names — such as uplifting_intro_theme.wav rather than track_03.mp3 — make a significant difference when working on larger projects.
Placing Audio on the Timeline. Once imported, audio clips are dragged from the Project panel onto the timeline. Premiere Pro automatically creates new audio tracks as needed. Background music typically sits on a track below the main dialogue track (often A2, with dialogue on A1), creating a clean vertical hierarchy that mirrors the logical importance of each sound source.
Audio Mixing: Levels, EQ, and Ducking
Setting Proper Levels. Industry convention places dialogue peaks at approximately -6 dB to -12 dB, with background music sitting at -18 dB to -24 dB when dialogue is present. This creates a minimum 6 dB separation that keeps speech intelligible without the music disappearing entirely. The Audio Gain dialog (accessible by right-clicking a clip or pressing the G key) allows precise level adjustments, while the yellow gain line on each clip in the timeline enables keyframe-based volume automation.
Equalization for Clarity. EQ is one of the most powerful yet underused tools in video audio. A standard dialogue EQ chain includes:
- A high-pass filter at 80 Hz to remove low-frequency rumble that contributes nothing to voice intelligibility
- A slight cut (2 to 4 dB) at 200-300 Hz to reduce the "boxy" resonance common in many microphones
- A slight boost (1 to 3 dB) at 3-5 kHz to enhance consonant presence and clarity
- Optional adjustment at 10-12 kHz, boosting if the voice sounds dull or cutting if it sounds harsh
The goal of EQ is subtlety. If toggling the effect on and off produces a dramatic change in voice character, the adjustments are too aggressive.
Compression. Dialog recordings often have inconsistent volume — a speaker may naturally vary between quiet and loud. Compression evens out these dynamics. The Essential Sound panel's Auto-Match feature applies intelligent leveling to match industry-standard loudness targets. For manual control, Premiere Pro's Multiband Compressor offers threshold, ratio, and makeup gain controls that allow precise dynamic control.
Ducking. Perhaps the most valuable audio technique for content creators is ducking — the automatic reduction of music volume when speech is present. Without ducking, editors face an impossible choice: set music too low throughout (inaudible during pauses) or too high (competing with speech). The Essential Sound panel automates this process. Select a music clip, mark it as "Music," and enable Auto Ducking. Premiere Pro analyzes the timeline and applies ducking keyframes based on the sensitivity and ducking amount sliders. For editors who prefer manual control, individual keyframes can be placed on the music track's gain line — lowering the level by 6 to 8 dB at speech starts and raising it during pauses.
Platform-Specific Loudness Standards
Different distribution platforms enforce different loudness standards. Exporting audio that exceeds these targets results in the platform re-normalizing the audio, which can introduce unwanted compression artifacts.
- YouTube and most social platforms: -14 LUFS (Loudness Units Full Scale)
- Podcasts: -16 LUFS
- Broadcast television: -24 LKFS (equivalent to LUFS in most practical contexts)
The Essential Sound panel's Auto-Match feature can target these standards automatically. Select dialogue clips, choose the appropriate loudness target, and Premiere Pro applies the necessary gain adjustment.
Common Pitfalls and How to Avoid Them
Clipping. Audio that exceeds 0 dB is clipping — permanent digital distortion that cannot be fully repaired in post. Monitor the Track Volume meter in the Audio workspace, ensuring peaks stay between -6 dB and -3 dB. If source audio clips, the best solution is to re-record at lower input gain. When re-recording is not possible, Premiere Pro's De-Clip effect (found in the Essential Sound panel under Repair) can reduce audible distortion.
Mixing on Laptop Speakers. Laptop speakers are designed for portability, not accuracy. They typically lack bass response and can mask midrange problems. Always mix on a decent pair of headphones or studio monitors, and test the final mix on multiple playback devices — headphones, speakers, and a phone — because what sounds balanced on one device may not translate to others.
Ignoring Room Tone. When editing dialogue, the cuts between sentences can create dead spots that sound unnatural. Recording 30 seconds of silence in the recording environment and looping it on a low-volume bed track fills these gaps, creating a continuous sonic environment that masks edit points.
Forgetting Fade-Outs. Music that ends abruptly is jarring. Apply a Constant Power or Exponential Fade transition to the final 2 to 3 seconds of any music track. The Properties panel and Effects panel both offer fade controls, and the Shift + D shortcut applies the default audio transition to selected edit points.

Conclusion
Audio in Premiere Pro is a system — not a single operation. The editors who produce content that sounds professional are not necessarily audio engineers, but they understand the principles: source music legally, organize assets methodically, set levels according to industry standards, use EQ and compression to enhance rather than transform, apply ducking to maintain speech clarity, and target the correct loudness for each distribution platform.
The tools are all present within Premiere Pro. The Essential Sound panel handles much of the heavy lifting for editors who need professional results without diving into the Audio Track Mixer's full routing matrix. But the decisions — which music to use, how loud it should be, when to duck, and what the final loudness target is — remain fundamentally creative choices that no automated feature can make for you.
For creators serious about production quality, investing time in understanding these audio workflows yields returns that are immediately audible. Your viewers may not know why your videos sound better. They will simply stay longer, watch more, and return more often.